
Flexible color themes allow you to easily customize your survey's color styles and fonts.
Basic configuration
- On the Dashboard page, click on the Edit link for your survey.
- Click on the Colors & Fonts link from the header menu, or the Colors & Fonts icon from the side menu.
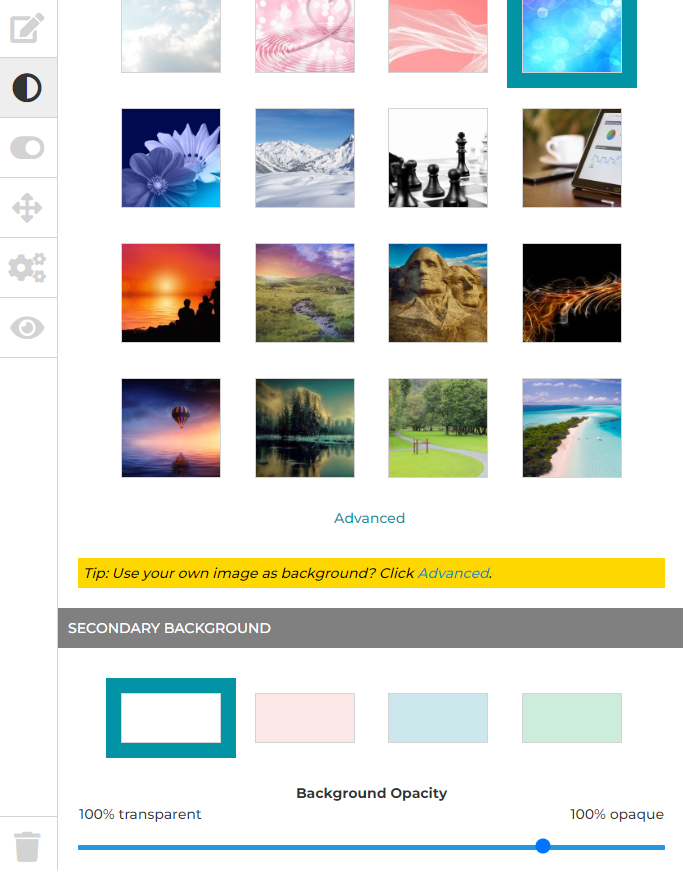
- Choose your primary (survey) background color or image. Note that this color or image may not be visible on your respondent's mobile screens unless you select a background opacity that is not 100% opaque.
- Choose your secondary (page) background color. Pick a background opacity. A 100% opaque background opacity will cover your primary (survey) background on mobile screens. A 100% transparent background opacity will make your secondary (page) background clear.
- Choose your title background colors. The navigation buttons (such as Previous, Next, and Done) will share the same background colors.
- Choose your page text color, font type and font style as needed.
Your selection will be automatically saved.
Advanced configuration
- On the Dashboard page, click on the Edit link for your survey.
- Click on the Colors & Fonts link from the header menu, or the Colors & Fonts icon from the side menu.
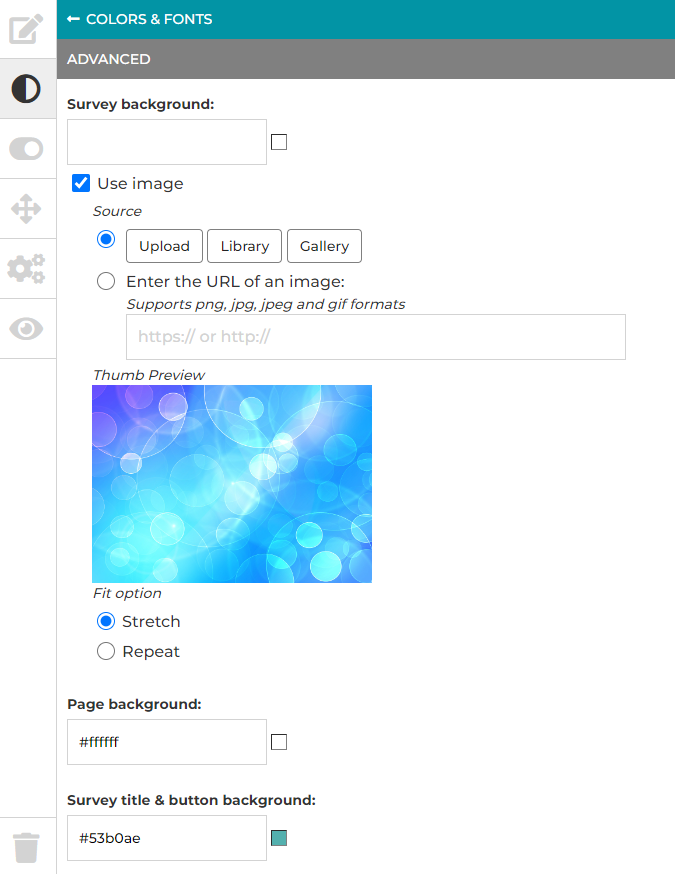
- Click on the Advanced link.
- Enter or pick colors for the Survey background field.
- When using an image as your survey background, check the Use image checkbox.
- Upload your image, or pick from your image library, or pick from our image gallery, or enter the URL of an image on the web.
- Choose a Fit option. The default value is Repeat.
- Enter or pick a color for the Survey logo background field, the Survey title & button background field, the Survey title & button text field, the Page title background field, the Page title text field, the Page background field, the Page description text field, the Validation/errors text field, the Required asterisk field, the Question text field, and the Answer text field as needed.
- Choose a text font.
- Enter a theme name.
- Click on the Save button.
When completed, click on the Done button to go back to the main screen.
Share the article:


Search for articles: