
How to Manage Team Users
Team management is only available for enterprise subscribers.
The number of allowed users under your team is determined by the number of users you selected during your subscription. To invite more users, please visit the My Account page and purchase more user licenses.
Users have different roles, which are as follows:
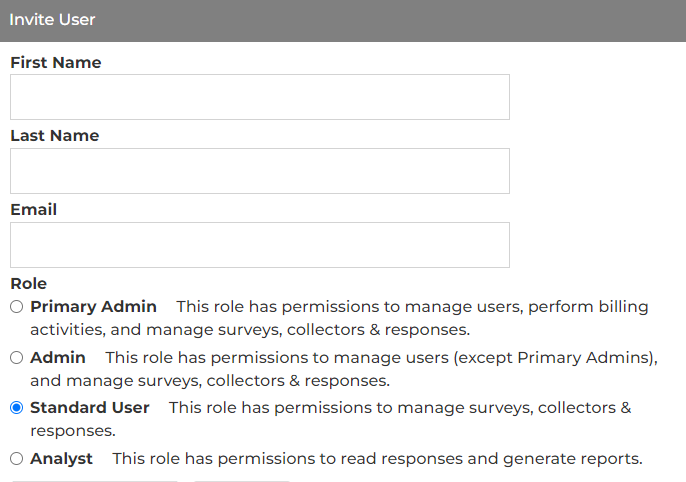
- Primary Admin: Has permission to manage users, perform billing activities, and manage surveys, collectors & responses.
- Admin: Has permission to manage users (except Primary Admin), and manage surveys, collectors & responses.
- Standard User: Has permission to manage surveys, collectors & responses.
- Analyst: Has permission to read responses and generate reports.
Add Team User
- Click on the Team link in the header menu.
- Click on the + Invite User link.
- Enter the new user information, such as First Name, Last Name and Email, and select a role.
- Click on the Send Invitation button.
An email will be sent out to the new user with the invitation. The new user needs to click on the link in the email to accept the invitation. A sub-account registration is required to complete the acceptance.
By default, the subscriber's account comes with the Primary Admin role.
Modify Team User
- Click on the Team link in the header menu.
- Click on the Edit link next to the user.
- Change the user information, such as First Name, Last Name, or Role. Please note that the email address can only be changed by the user, not by an Admin or Primary Admin.
- Click on the Save User button.
Reassign Team User
If a user is no longer with the team, you can reassign the sub-account to a different user.
- Click on the Team link in the header menu.
- Click on the Reassign link next to the user.
- Enter the new user information, such as First Name, Last Name, Email, and select a role.
- Click on the Save User button.
Delete Team User
- Click on the Team link in the header menu.
- Click on the Delete link next to the user.
- Click on the Yes button to confirm the deletion.
Share the article:


Search for articles: